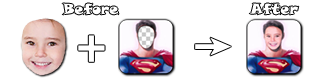
The tutorial on how to swap a face in Fun Face Master for beginner.
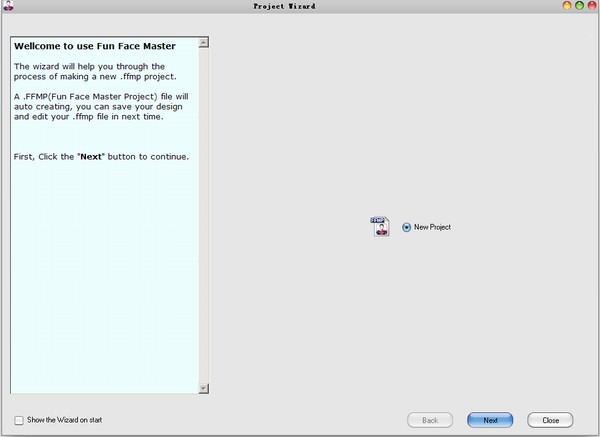
Welcome to use Fun Face Master The wizard will help you through the process of making a new .ffmp project. A .FFMP(Fun Face Master Project) file will auto creating, you can save your design of face replacement and edit your .ffmp file in next time. First, Click the "Next" button to continue.
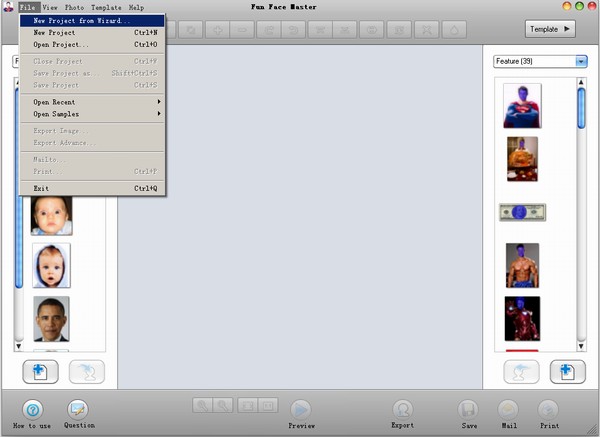
Launch the Fun Face Master, and click on "New Project from wizard..." at Main menu.
Not have the program? You can click here to download Fun Face Master, or purchase the full version for Fun Face Master.
 |
 |
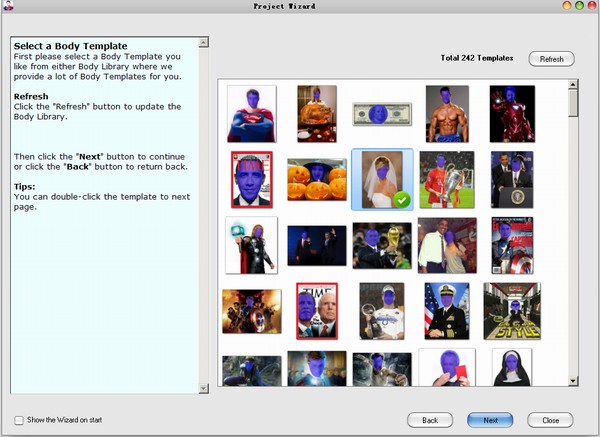
First please select a Body Template you like from either Body Library where we provide a lot of Body Templates for you. Refresh Click the "Refresh" button to update the Body Library. Then click the "Next" button to continue or click the "Back" button to return back.
Tips: You can double-click the template to next page.
 |
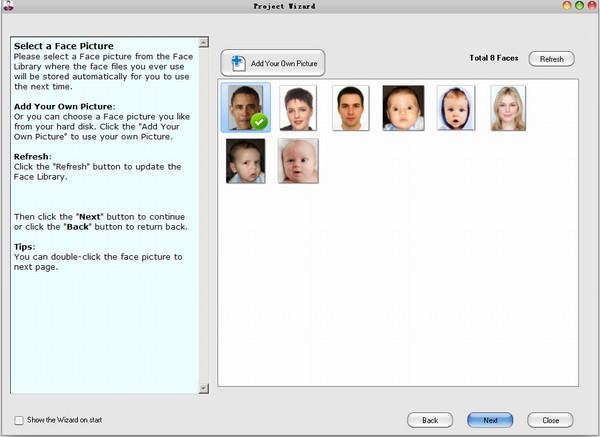
Please select a Face picture from the Face Library where the face files you ever use will be stored automatically for you to use the next time. Add Your Own Picture: Or you can choose a Face picture you like from your hard disk. Click the "Add Your Own Picture" to use your own Picture. Refresh: Click the "Refresh" button to update the Face Library. Then click the "Next" button to continue or click the "Back" button to return back.
Tips: You can double-click the face picture to next page.
 |
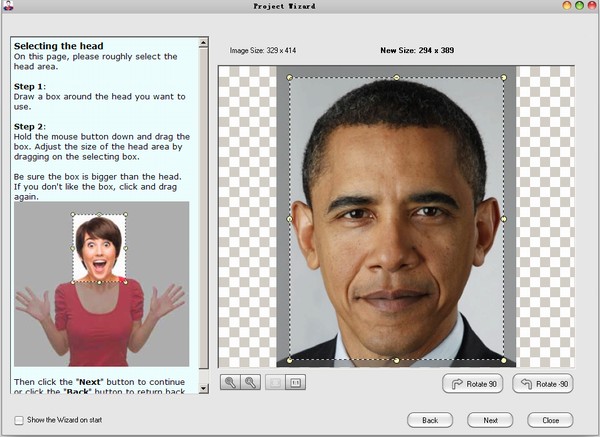
On this page, please roughly select the face swapping area. Step 1, Draw a box around the face you want to use. Step 2, Hold the mouse button down and drag the box. Adjust the size of the face area by dragging on the selecting box. Be sure the box is bigger than the face. If you don't like the box, click and drag again. Then click the "Next" button to continue or click the "Back" button to return back.
 |
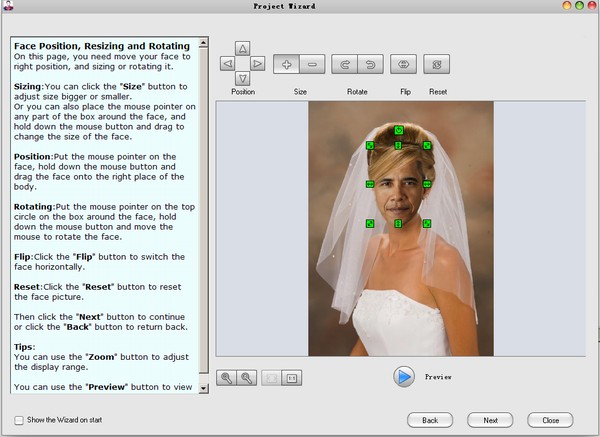
On this page, you can move your face to right position, and sizing or rotating it. Sizing:You can click the "Size" button to adjust size bigger or smaller. Or you can also place the mouse pointer on any part of the box around the face, and hold down the mouse button and drag to change the size of the face. Position:Put the mouse pointer on the swap face, hold down the mouse button and drag the face onto the right place of the body. Rotating:Put the mouse pointer on the top circle on the box around the face, hold down the mouse button and move the mouse to rotate the face. Flip:Click the "Flip" button to switch the face horizontally. Reset:Click the "Reset" button to reset the face swap picture. Then click the "Next" button to continue or click the "Back" button to return back.
Tips: You can use the "Zoom" button to adjust the display range. You can use the "Preview" button to view your design.
 |
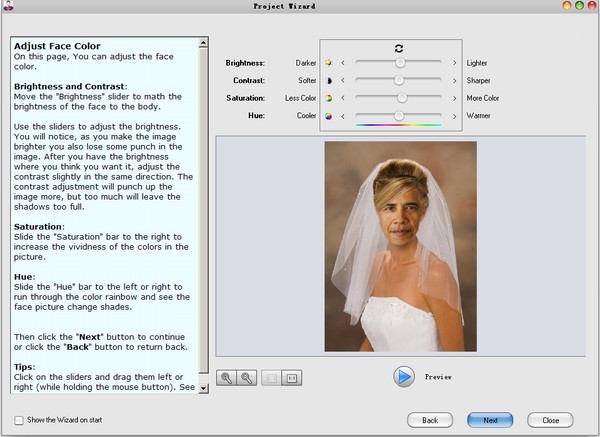
On this page, You can adjust the face color. Brightness and Contrast: Move the "Brightness" slider to math the brightness of the face to the body. Use the sliders to adjust the brightness. You will notice, as you make the image brighter you also lose some punch in the image. After you have the brightness where you think you want it, adjust the contrast slightly in the same direction. The contrast adjustment will punch up the image more, but too much will leave the shadows too full. Saturation: Slide the "Saturation" bar to the right to increase the vividness of the colors in the picture. Hue: Slide the "Hue" bar to the left or right to run through the color rainbow and see the face picture change shades. Then click the "Next" button to continue or click the "Back" button to return back.
Tips: Click on the sliders and drag them left or right (while holding the mouse button). See how the image changes?
 |
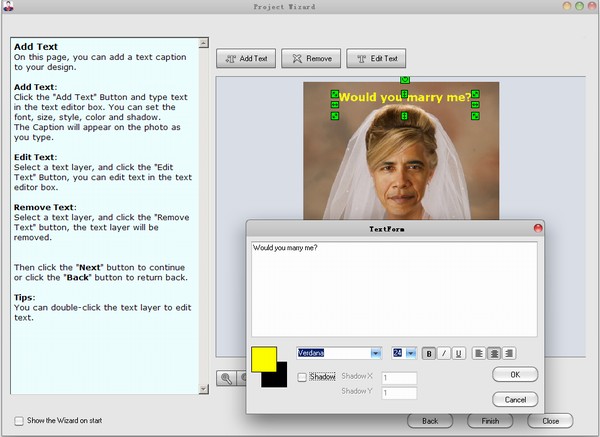
On this page, you can add a text caption to your design. Add Text: Click the "Add Text" Button and type text in the text editor box. You can set the font, size, style, color and shadow. The Caption will appear on the photo as you type. Edit Text: Select a text layer, and click the "Edit Text" Button, you can edit text in the text editor box. Remove Text: Select a text layer, and click the "Remove Text" button, the text layer will be removed. Then click the "Next" button to continue or click the "Back" button to return back.
Tips: You can double-click the text layer to edit text.
 |
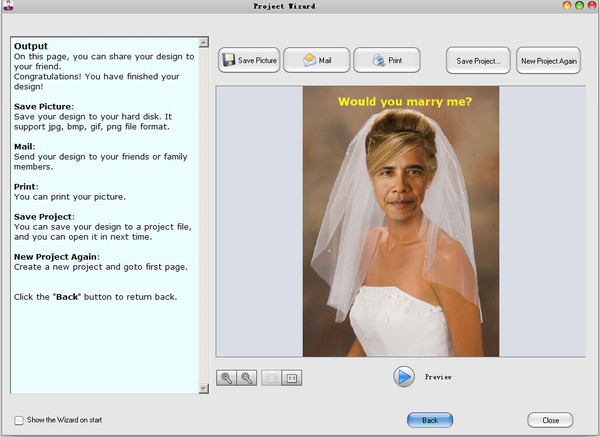
On this page, you can share your design to your friend. Congratulations! You have finished your design! Save Picture: Save your design to your hard disk. It support jpg, bmp, gif, png file format. Mail: Send your design to your friends or family members. Print: You can print your picture. Save Project: You can save your design to a project file, and you can open it in next time. New Project Again: Create a new project and goto first page. Click the "Back" button to return back.
 |
More details please click here
Related Articles:
| How to Swap Face Photo with Fun Face Master | |
| How to use my Face Photo to create Fun Face Photo | |
| How to replace face in picture with fun face master |